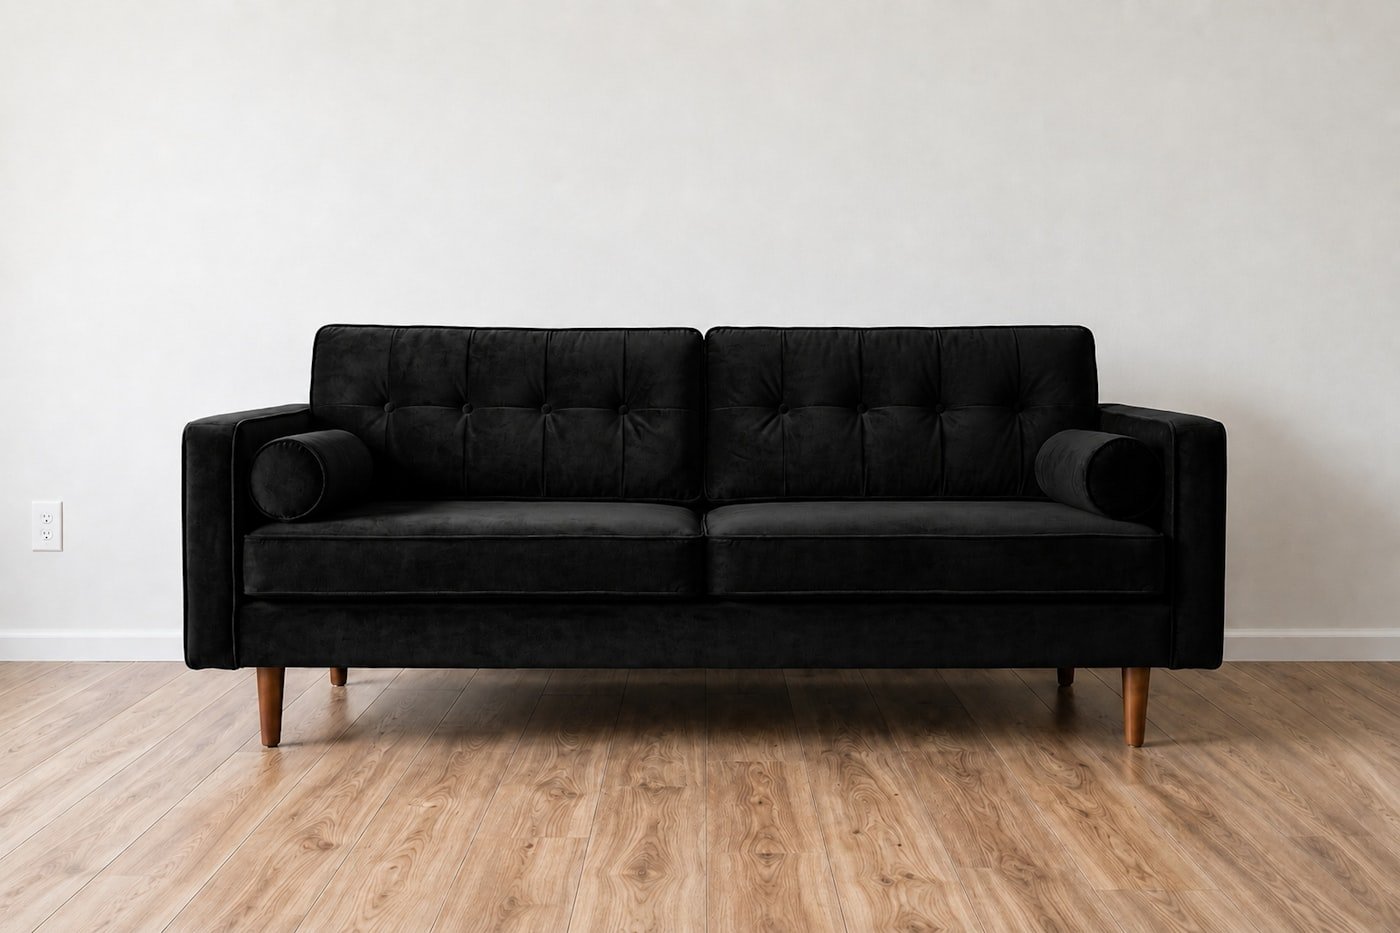
A drop-in dining chair seat is the ideal first upholstery job: one afternoon, a handful of tools, no sewing, and a result that transforms a room. This is the method we teach in the workshop.
What you’ll need
Materials (per chair)
- 0.5m upholstery fabric, 140cm wide (a performance weave or velvet rated 40,000+ Martindale)
- 50mm HR35 seat foam cut to the seat board size (or 25mm on top of existing good foam)
- Dacron wrap, one layer
- Cambric / black bottom cloth (optional but tidy)
- Spray adhesive
Tools
- Staple gun (electric or pneumatic) with 8–10mm staples
- Staple lifter and pliers (in our tool kit)
- Sharp fabric scissors
- Screwdriver
- Bread knife or electric carving knife for foam
Step 1 — Remove the seat and strip it
Turn the chair over and remove the four screws holding the seat board. Photograph it before you touch anything — it’s your reference for how the corners were folded. Use the staple lifter to remove the old bottom cloth, then the fabric, then any wadding. Pull out every staple; a stray one will telegraph through your new fabric. Keep the old fabric — it’s a ready-made pattern.
Step 2 — Assess and replace the foam
Press the old foam. If it crumbles, feels dead, or is under 40mm, replace it. Cut new HR35 foam 5mm larger than the board on all sides for a plump edge. Spray adhesive on the board, press the foam on, and let it grab for a minute. If you want a softer, rounded edge, run the knife along the top edge at 45° to bevel it.
Tip: We’ll cut foam to your board size for a small charge — it’s cleaner than most home cuts and saves a lot of mess.
Step 3 — Wrap in Dacron
Lay Dacron over the foam and staple it to the underside of the board, pulling gently — you’re softening the edges, not compressing the foam. Trim close to the staples. This single step is the difference between a homemade look and a professional one.
Step 4 — Cut and position the fabric
Cut fabric with 100mm extra on every side (use the old cover as a guide). If it has a pile or pattern, decide which way is “front” and mark the back of the fabric with chalk. Lay the fabric face down, centre the seat on top, foam side down.
Step 5 — Staple in sequence
Work in this order and you’ll never get a diagonal wrinkle: one staple at the centre of the back edge; pull to the centre of the front edge and staple; then the centre of each side. Now work outwards from each centre staple toward the corners, alternating sides, pulling firmly and evenly, stopping about 60mm from each corner. Staple every 25–30mm.
Step 6 — The corners
For square corners, pull the corner point straight in and staple once. Then fold each side over to make a neat pleat — like wrapping a present — and staple the folds down. For rounded corners, make a series of small, even pleats around the curve, stapling each. Check the front of the seat after every corner. Trim excess fabric to 15mm from the staples.
Step 7 — Bottom cloth and reassemble
Cut cambric slightly smaller than the board, fold the edges under and staple it over the raw fabric edges. Screw the seat back on. Done — now do the other five.
Common mistakes
- Pulling too hard compresses the foam and makes seats hard. Firm, not brutal.
- Skipping Dacron — you’ll see every foam edge through the fabric.
- Thin decorative fabric on a seat wears through within a year. Check the Martindale rating.
- Not checking pile direction across six chairs — they’ll look like different colours around the table.
Everything for six chairs in one order: 3m of fabric, a 50mm foam sheet (cuts six 450×450mm seats), 2m of Dacron and the tool kit. Start shopping →